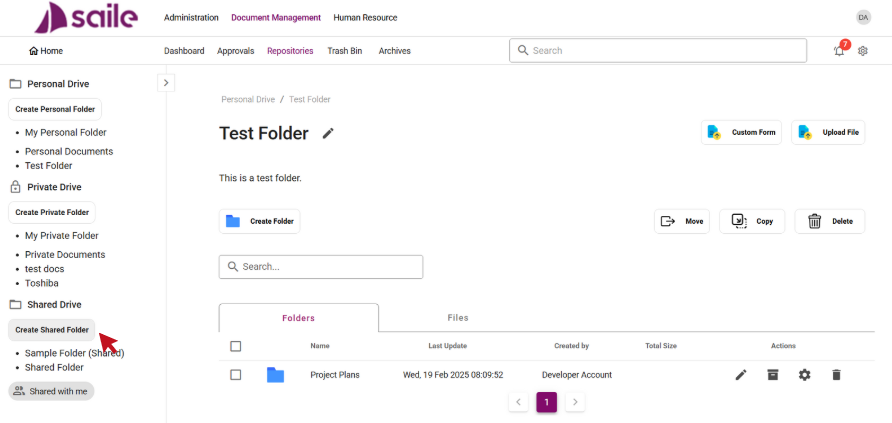
Creating Drives
- Click the Create Shared Folder button.
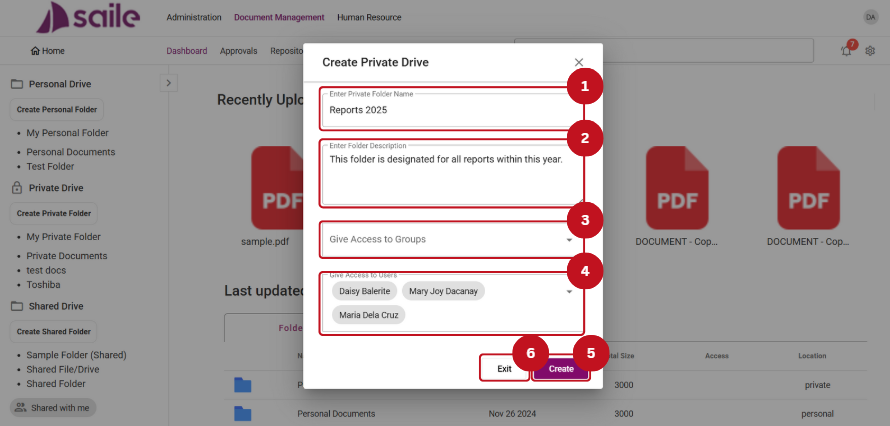
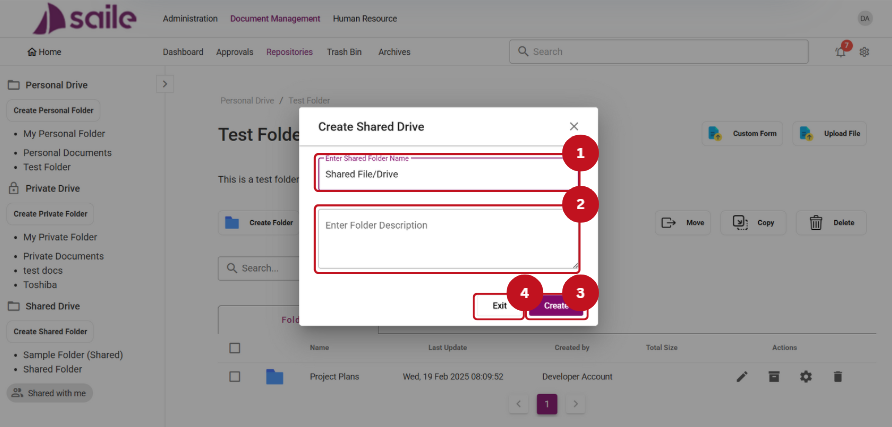
2. Enter the Shared Folder Name (1) and Folder Description (2) of the shared drive. Then, click Create (3) to create the folder or Exit (4) to close the window.
Creating custom forms and file uploads
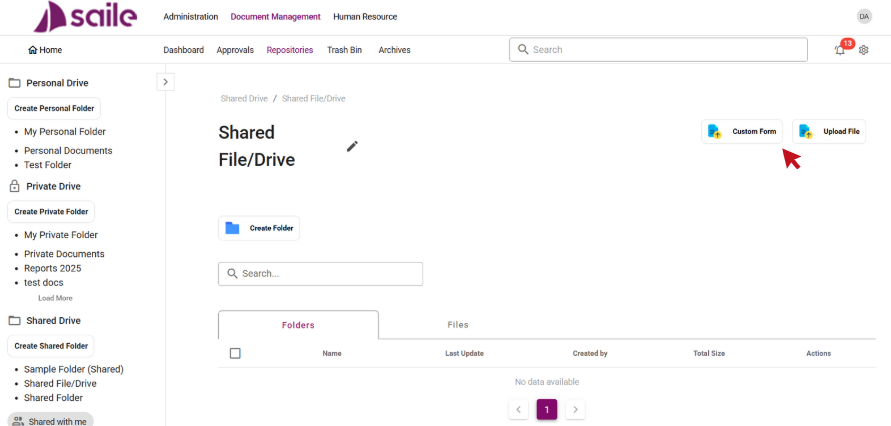
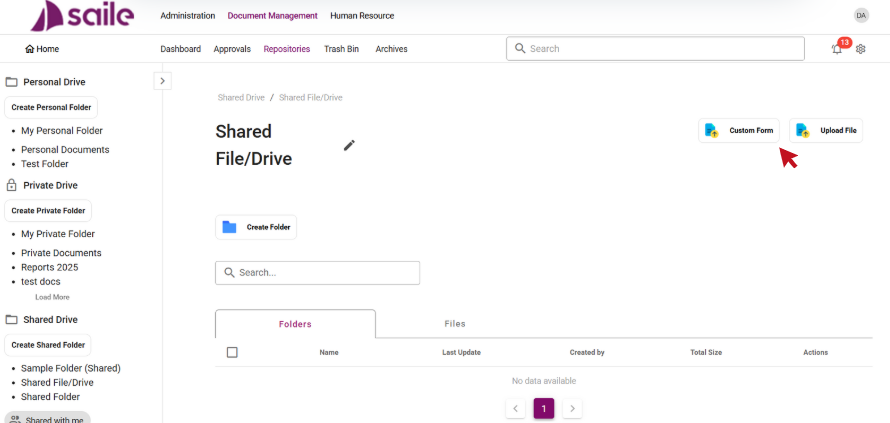
- Click the Custom Form button.
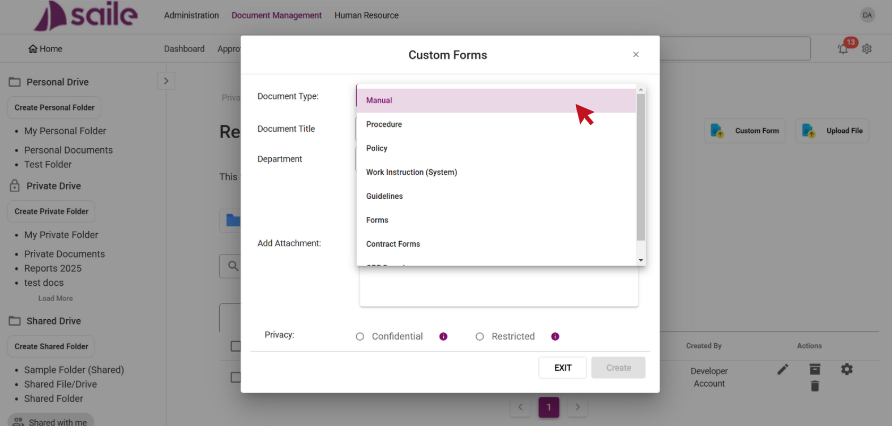
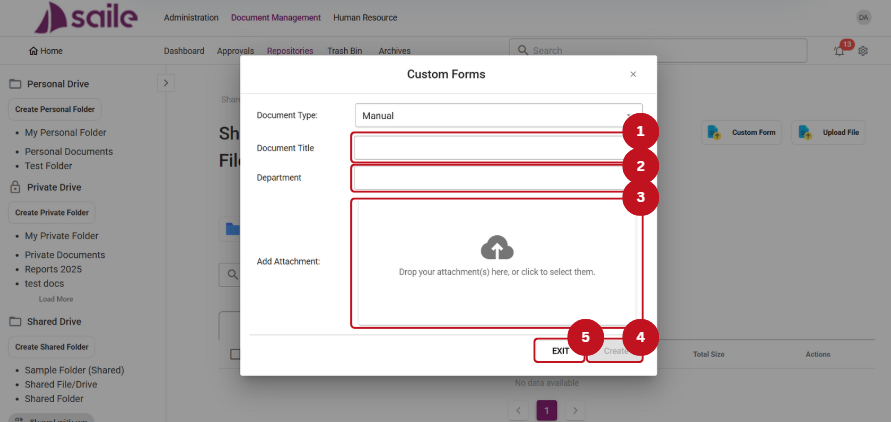
2. Select a Document Type.

3. Fill in the necessary details: enter the Document Title (1), Department (2), and Add an Attachment (3). Then, click Create (4) to create the custom form or Exit (5) to close the window.
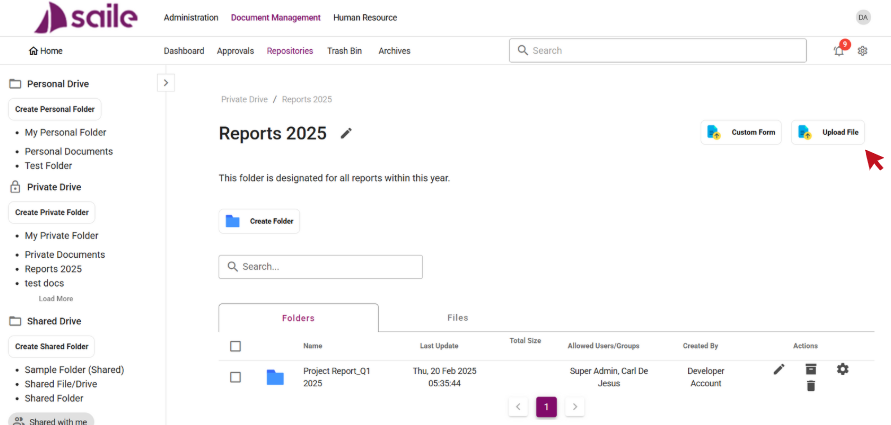
4. Click the Upload Files button.

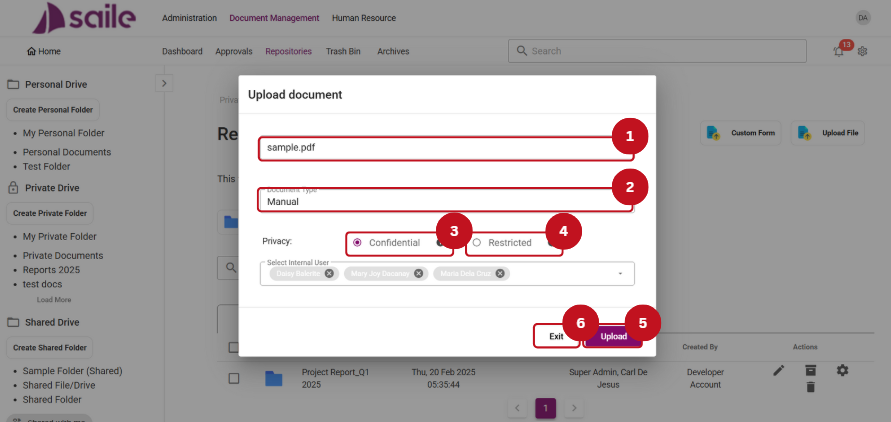
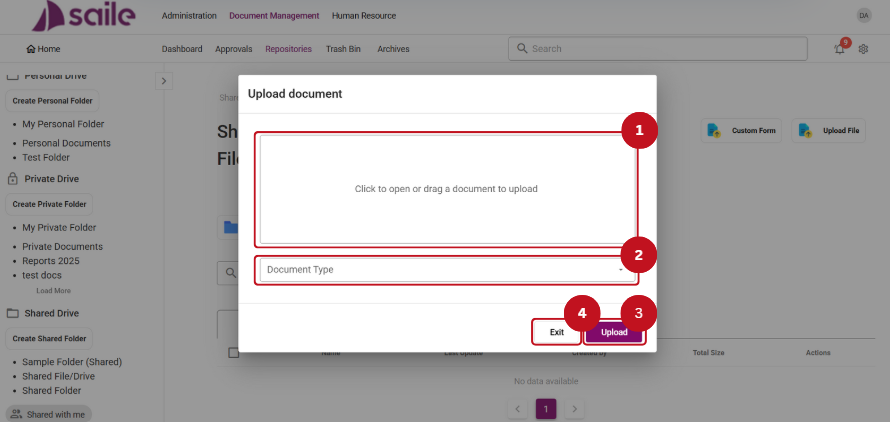
5. Select or drag files (1) to upload and choose the Document Type (2). Then, click the Upload (3) button to proceed or Exit (4) to close the window.
Accessing Shared Files
- Click the Shared with me button.

2. View all shared files here.