Document Approval Application Process (Approver’s Account)

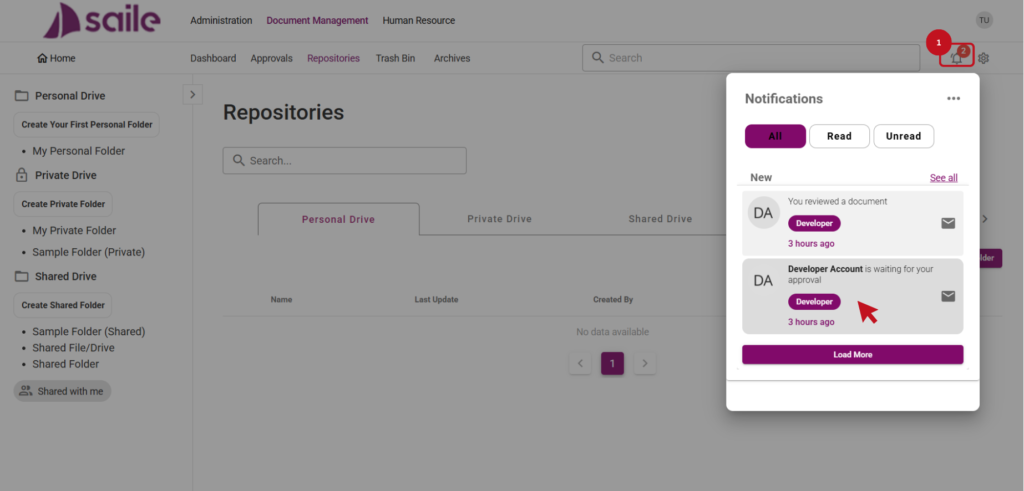
1. Check the Notification (1) then select.

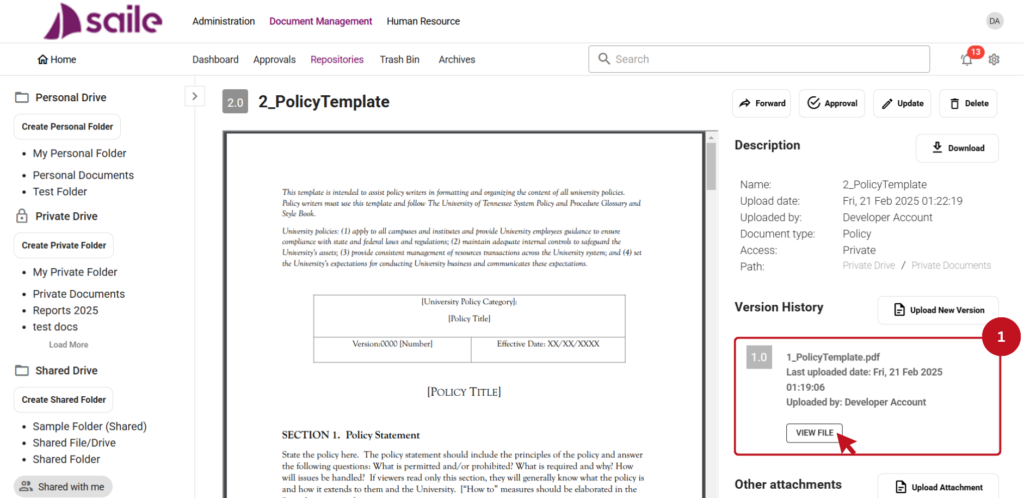
2. The status of the submitted document will automatically change to “Reviewing” (1). Click on the Approval History button to check the approval status.

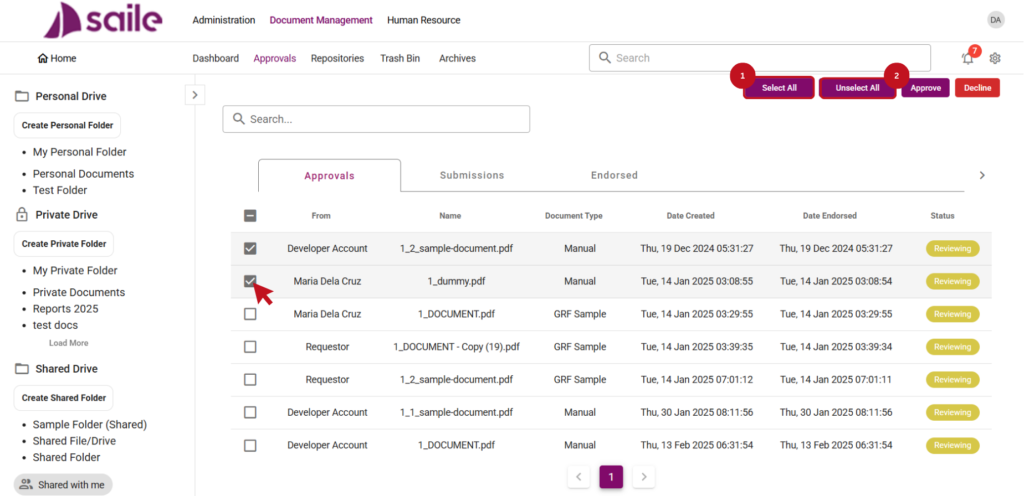
3. To approve the document, select Approve (1). Fill in the details (2)(3).

The document status will automatically change to “Completed” (1).

4. To decline the document, click on Decline (1). Fill in the details (2) (3).

The document status will automatically change to “Declined” (1).

Document Approval Application Process (Requestor’s account)

1. Click on the Files (1) tab then select the file for approval.

2. Click on the Approval button.

3. Enter the Subject (1) and the Description (2) for your Request for Approval form.

4. Select the Level of Approver.

5. Select the type of approver between Internal User or Internal Group.

Under the Internal User, select the user(s) who will approve the document (1).

Under the Internal Group, select the user group(s) tasked to approve the document (1).

6. Fill in the drop boxes under Condition (1)(2).

7. Select Add Row (1) to add Approver(s), or Delete Row (2) to delete the existing Approver(s).

8. Click on the Send button to submit approval. 

Trash Bins

1. Select the file(s) or folder(s).

2. To restore the file(s) or folder(s), click on the Restore icon (1) or select the file/folder (2) then click Restore (3).

3. To delete the file(s) or folder(s) permanently, click on the Delete icon (1) or select the file/folder (2) then click Delete (3).

4. Select Empty Trash Bin (1) to delete all the files permanently.

5. Use the Search bar (1) to search file(s)/folder(s) in the Trash Bin.

Archives

1. In the Archives tab, all of the archived folder(s) and file(s) is/are viewed. Select the file(s)/folder(s) (1).

2. To restore, click the Restore icon (1) or select the file(s)/folder(s) (2) then click the Restore (3) button.

3. To delete, click the Delete icon (1) or select the file(s)/folder(s) (2) then click the Delete (3) button.

Repositories

1. Click on Personal Drive to access all the folders created under the Personal Drive.

2. Select Private Drive to access the folders in Private Drive.

3. To access the folders in Shared Drive, choose Shared Drive.

Version History

1. Select the document.

2. Click on Upload New Version (1) to create a new version of the document.

3. The document’s existing version(s) are visible under Version History (1). Select View File to view the document.

Approvals

Under the Approvals Tab, the files for Approvals, Submissions, and Endorsed can be accessed.

Approvals Tab

1. The document(s) awaiting the user’s approval can be viewed on the Approvals tab. The requestor, file name, document type, file creation date, file endorsement date, and status information of the documents are provided.

2. Select one or more documents by clicking the checkbox on the left side of the requestor’s name. Click on the Select All (1) button to select all files and Unselect All (2) to unselect all items.

3. Once the document(s) is/are already selected, Click on Approve (1).

4. Use the Search bar (1) to search document(s) under the Approvals tab.

Submissions Tab

1. The document(s) submitted by the user for approval is/are viewed in the Submissions tab. The files’ information including the approver’s name, file name, document type, file creation date, file endorsement date, and status are provided.

2. Use the Search bar (1) to search document(s) under the Submissions tab.

Endorsed Tab

1. The document(s) that is/are completed and approved are under the Endorsed tab. Select Export To CSV (1) to export the list to .csv file.

2. Use the Search bar (1) to search document(s) under the Endorsed tab.